Do you need a Binance account statement or the transaction history?
A statement shows what each wallet held on one date and can only be made on the Binance website. Transaction history lists what moved in and out over a period. Proof of a balance calls for the first; tax filing and reconciliation call for the second.
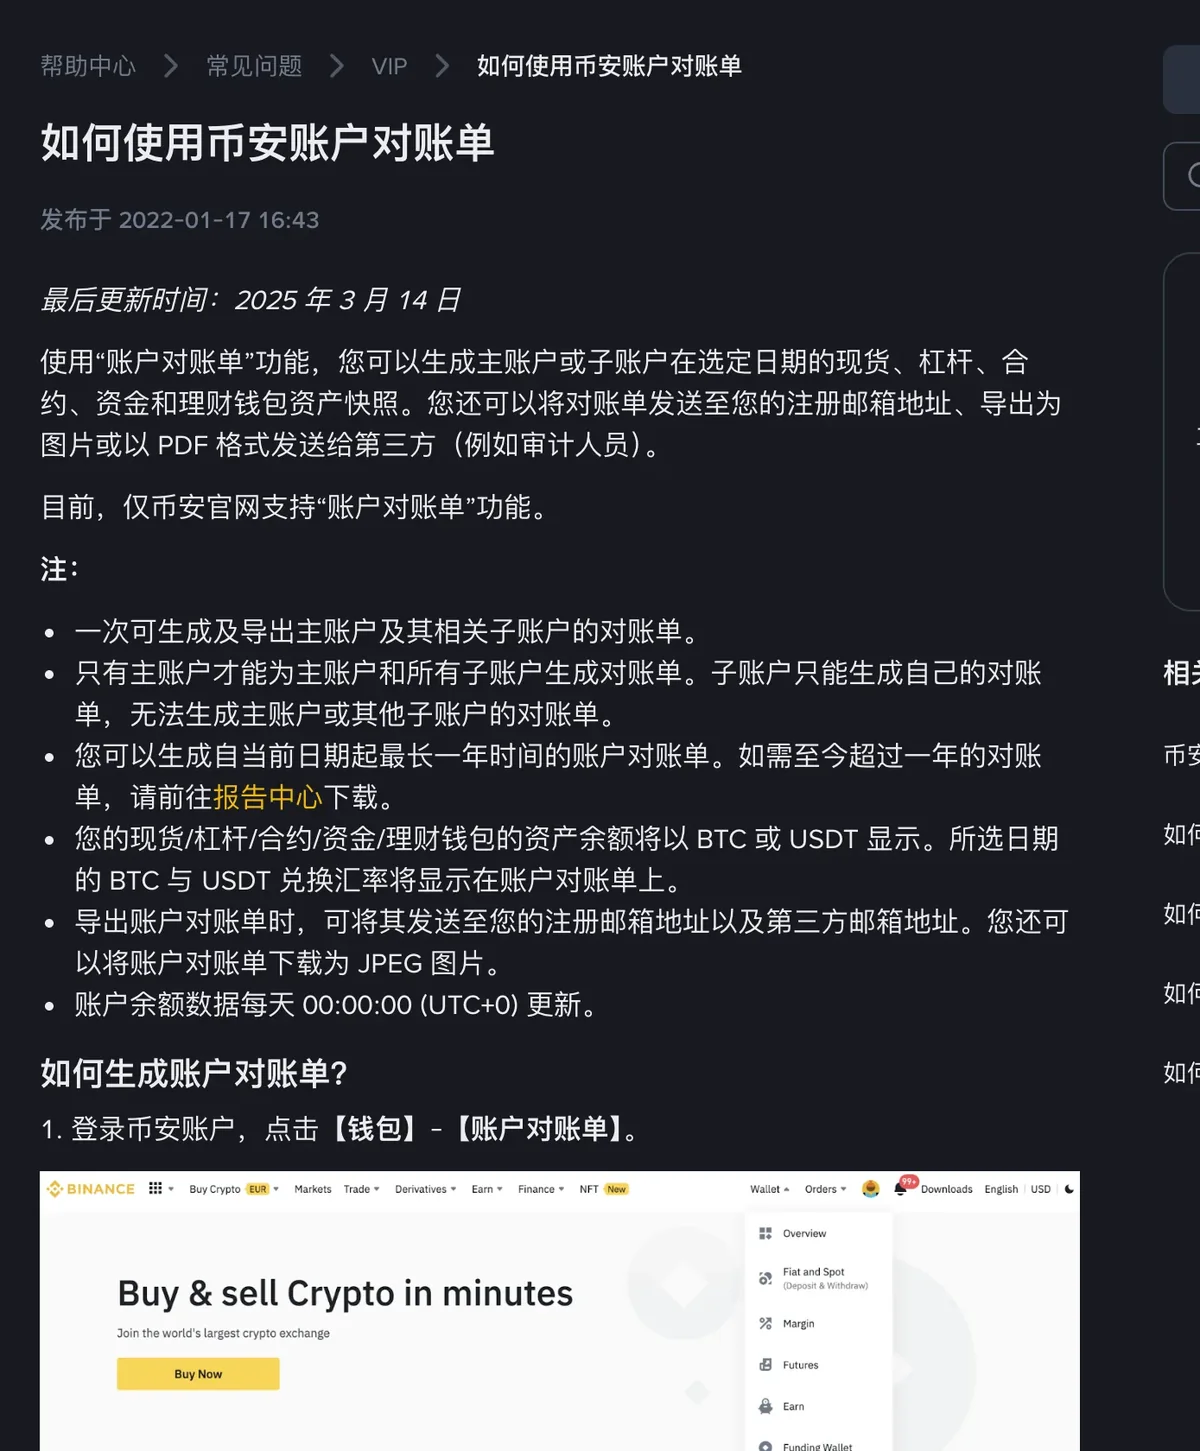
An account statement can only be generated on the Binance website: log in, open the account statement page under the wallet menu, pick a date, and you get a snapshot of the balances in each of your wallets on that day. Transaction history lives somewhere else. On the website it's the export option on the asset history page under the assets menu. In the app it's the download icon at the top right of the order history screen, which you reach through the assets tab, then history, then the trade section. Either route exports records covering a period of time. The statement PDF and the generated history file both come with download links that last only 7 days.
To show someone how much was in the account on a given day, produce a statement. To file taxes or reconcile, where you need every movement in the account over a period, export the transaction history. If you need both, export each one separately.
Account statement and transaction history compared
| Account statement | Transaction history | |
|---|---|---|
| What it records | A snapshot of the assets in your spot, margin, futures, funding and earn wallets on the date you choose | An itemized record of transactions within the time range you choose |
| Where you do it | Binance website only: the account statement page under the wallet menu | Website: the asset history page under the assets menu. App: assets, then history, then trade, then order history |
| How far back | Up to one year back from the current date; anything earlier goes through the report center | Preset ranges for the last 6 months; the custom range option for anything earlier (the all-time option in the app) |
| How you get the file | Sent to your registered email, sent to a third party's email, saved as a JPEG image, or exported as an encrypted PDF | Once it's generated, press download in the pop-up or in the export history list |
| Download link | PDF link valid for 7 days | Expires after 7 days |
| The use Binance gives as an example | Sending a PDF to a third party such as an auditor | Tax calculations when you file for crypto investments |
The names are easy to mix up. Generating transaction history is a separate feature from the account statement under the wallet menu. For a balance snapshot, go to the wallet menu. For itemized records, go to the assets menu. If you remember the two by menu rather than by name, you won't end up on the wrong page.
If you plan to close your account, export both before you do, and actually download the files to your own computer or phone; a link that dies after 7 days is not a copy. There are assets and rewards to deal with before closing as well, and we keep an ordered checklist of what to move out before you close a Binance account.
How to generate an account statement on the Binance website
For now only the Binance website supports the account statement; the app doesn't have it. Once you're logged in on the website:
- Log in to your Binance account and open the account statement page from the wallet menu.
- Choose the date, account, wallet and valuation currency, then run the search.
- An account overview appears: the date you chose, your user ID, the account type, the wallet, and the total value expressed in BTC and in the currency you picked. Below it are the asset balances for each wallet.
Don't pick a date that's too recent. Balance data updates once a day at 00:00:00 (UTC+0), and until that update runs, the latest record you can see is from the day before yesterday. Binance's own example: if today is January 12, 2022, the most recent record available is the data for January 10.
Each wallet shows something different on the statement:
- Spot: the asset balances in your spot wallet.
- Cross and isolated margin: on top of the total asset balance, two extra lines for total debt and account equity. Total debt = borrowed + interest; account equity = total assets − total debt. Isolated margin also shows the margin balance.
- USD-margined and coin-margined futures: futures positions, asset balances and unrealized PnL.
- Earn: your positions in each coin in the earn wallet, your holdings in products such as savings and staking, and the total earnings generated while you held them.
An example for the two margin lines: say a margin account has total assets of 1,000 USDT, has borrowed 400 USDT and has accrued 2 USDT in interest. Total debt is 400 + 2 = 402 USDT, and account equity is 1,000 − 402 = 598 USDT. The statement shows 1,000 under total assets, and the 598 left after debt is the figure in the equity line.
The statement shows only the 5 coins with the largest balances and combines the rest into a single line. If you hold many coins and need to check them one by one, the page won't show them all, but when you export the PDF you can choose to include the data for all positions.
Exporting the statement as a PDF requires an 8-digit password
After generating the statement, press export. You can send it to your registered email, send it to a third party's email, or download it directly as a JPEG image. For an outside party such as an auditor, choose PDF and set these when you export:
- Data range: export only the top 5 positions, or export all positions.
- Password: every PDF must be encrypted with an 8-digit password, and the recipient has to enter it to open the file.
- Validity: the download link works for 7 days. After that the download is no longer available, and you have to go back to the account statement page and export again.
Binance asks you to keep this password safe. Once the PDF has gone to the recipient's email, pass the password on through a different channel, by phone for instance. If both travel in the same email, the encryption does nothing. And don't use your Binance login password or your birthday as the 8 digits.
If the recipient says the link won't open, count the days since you exported. If it's been more than 7, go back to the account statement page, choose the same date, then generate and export it again.
Statements older than one year come from the report center, and non-VIP users apply for access first
The account statement can be generated for dates up to one year back from the current date. For a date beyond that, VIP users see a message on the page saying the data isn't ready yet. In that case, go to the report center in the VIP portal and generate the download there.
Non-VIP users have to submit a request on the VIP portal site for temporary access to the report center. If the account qualifies, you can log in to the VIP portal right away, but it takes 3 business days before you can enter the report center. The statement help page links to the guide on using the report center and to the eligibility requirements for non-VIP users, so check them against your own account before applying. If you're working to a deadline, build those 3 business days into your schedule.
Exporting transaction records on the website
- Log in to your Binance account and go to the asset history page under the assets menu.
- Hover over the export icon and choose the option to export transaction records.
- Choose the time range. For anything within the last 6 months, pick one of the preset ranges, then select the account, sub-account and coin and press generate. For anything older than 6 months, use the custom range option to set the start and end dates, then press generate.
- Wait for the report to be generated. The time remaining shows in the status bar.
- When it's done you'll get a notification by SMS and/or email. Go back to the export pop-up and press download next to the finished statement.
If the notification doesn't arrive, don't rush to generate the report again and use up your quota. The SMS or email may have been blocked by your network provider or simply delayed. The official advice is to wait one to two hours and check back.
The help page says at the top that people who need to file taxes on crypto investments can generate this statement for their tax calculations. Which documents your own filing requires and which calculation method applies depend on local tax rules; Binance's export is only the raw record.
In the Binance app, trade records are exported from the order history screen
- Log in to the Binance app, tap the assets tab, then the history icon, and choose the trade section.
- Open order history and tap the download icon at the top right of the spot history screen.
The last-6-months option: choose the period, the format and the order details to include, then tap export. The report is ready quickly and can be saved straight to your phone.
The all-time option: choose the period and the trading pair, then tap generate. While it's being prepared the status shows as generating, and you'll get an SMS or email when it can be downloaded. In the export history list, tap download once the status changes to ready, then tap the button that opens the file and choose where to save it.
On the website you can filter by account, sub-account and coin. In the app, the last-6-months option lets you set the period, format and order details, and the all-time option the period and trading pair. To export sub-accounts separately, follow the website steps.
How many transaction history statements you can generate each month
There's a monthly cap. Because of server capacity, each user can generate only a limited number of statements a month. The website steps give a range of 15 to 40, and your own allowance is whatever the export screen says.
Records for different periods have to be exported in separate runs, and each run uses one statement from the quota. When the quota is tight, decide on the period before you export and don't generate the same period over and over.
The link to a finished statement expires after 7 days. Download it as soon as you have it, save it to your own computer or cloud drive, and put the start and end dates in the file name so you can find it at a glance when you reconcile later.